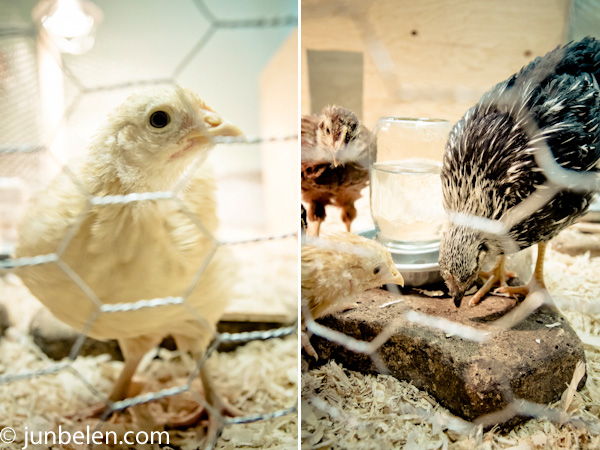
“Do you think Rose is still breathing?” I nervously blurted out. One minute the yellow fuzzball’s frolicking around with her sisters and the next she’s eerily motionless.
“She is, Jun,” Dennis reassured me. “She’s just sleeping.”
Of course, she was. What was I thinking? But I gently poked her with my finger and woke her up to convince myself she was fine like a paranoid Shirley MacLaine in Terms of Endearment. I can just imagine what a nervous wreck I’d be if we had kids.
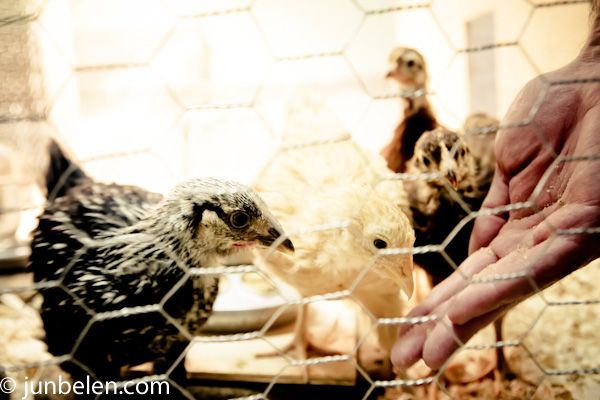
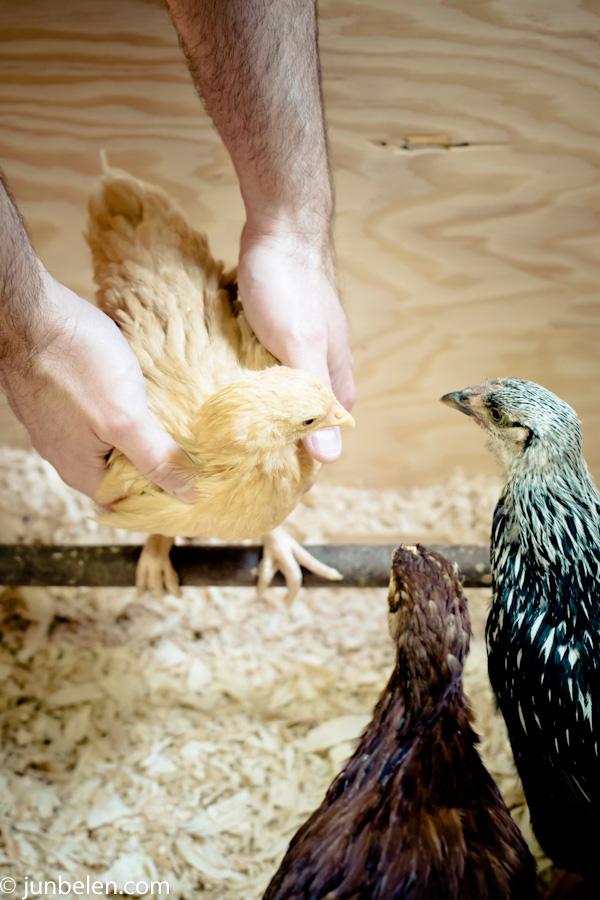
Our precious girls are now six weeks old and they’re getting heftier and nimbler each day. They quickly outgrew the brooder box we built and are now staying in a makeshift coop we fenced in with chicken wire inside our basement. The brooder is now their temporary hen house that opens up to a run covered with pine shavings. They have pretty much taken over the entire mudroom downstairs but we don’t mind at all. They now have more space to run around and to test their hand in flying. These girls are fearless flyers! They will hop on and climb up your arm without you knowing it. Very cunning escape artists!
Lately, we’ve been teaching the girls how to roost by introducing them to a round dowel we attached to the walls in one end of their makeshift hen house, suspended a few inches above the ground. By instinct, chickens want to roost — go to bed — way up high and huddled together in a group for warmth and protection. Roosting is an instinct but where to roost can be learned. Since there aren’t any older chickens to learn from, they need to learn where to roost from us. I’m happy to report that the girls are doing very well and they’re slowly getting the hang of roosting. They sleep on the roosting bar at times but alternate between there and the spot directly underneath the heat lamps where it’s warm and comfy. I don’t blame them.
The next big project in our to-do list is the chicken coop and we’re diligently working on it. We’re crossing our fingers they’ll have their new home in a few weeks and I’m sure you’ll read about it!
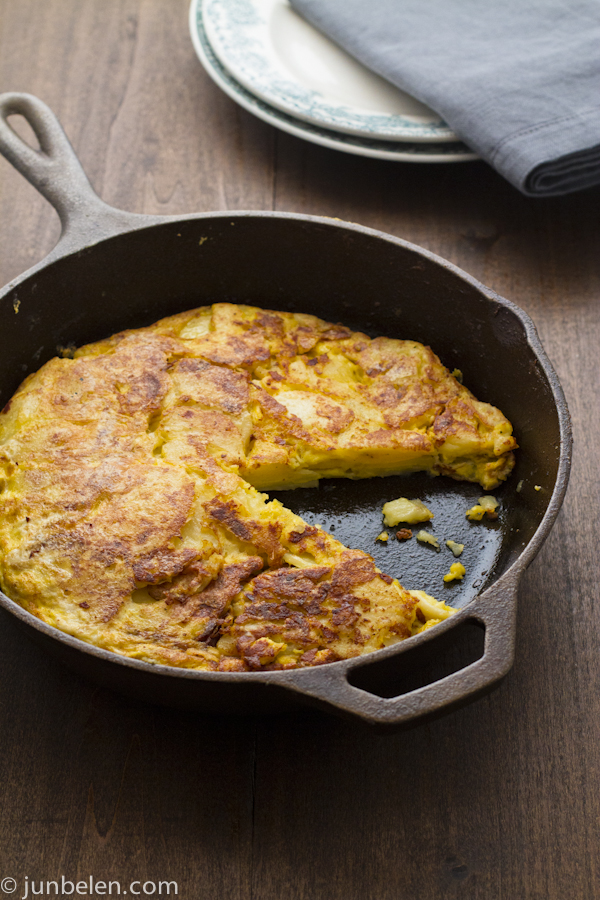
I hope I’m not counting our eggs before they hatch by sharing this excellent Spanish Tortilla recipe. I just get giddy with excitement about our girls and about this simple recipe for potato omelet — tortang patatas, as we call it back home. The only intimidating part of making these omelets is flipping them from skillet to plate. Just make sure your skillet or non-stick frying pan is hot enough so that the omelet won’t stick.
Use Yukon Gold or red-skinned potatoes. Serve hot or at room temperature, as tapas or with garlic fried rice and banana ketchup for breakfast.
Spanish Tortilla Recipe
Recipe from Penelope Casas’ The Foods and Wines of Spain
1 cup olive oil, or a mixture of olive and salad oils
4 large potatoes, peeled and cut in 1/8-inch slices
coarse salt
1 medium onion, thinly sliced
4 large eggs
Heat the oil in an 8- or 9-inch skillet and add the potato slices one at a time to prevent sticking. Alternate potato layers with onion slices and salt the layers lightly. Cook slowly, over a medium flame, lifting and turning the potatoes occasionally, until they are tender but not brown. (The potatoes will remain separated, not in a “cake.”)
Meanwhile, in a large bowl, beat the eggs with a fork until they are slightly foamy. Salt to taste. Remove the potatoes from the skillet and drain them in a colander, reserving about 3 tablespoons of the oil. (The potatoes give the oil a delicious flavor, so reserve the rest for future use.) Add the potatoes to the beaten eggs, pressing the potatoes down so that they are completely covered by the egg. Let the mixture sit 15 minutes.
Heat 2 tablespoons of the reserved oil in a large skillet until very hot (you may use the same skillet as long as absolutely nothing is stuck on the bottom.) Add the potato-and-egg mixture, rapidly spreading it out in the skillet with the aid of a pancake turner. Lower the heat to medium-high and shake the pan often to prevent sticking. When the potatoes begin to brown underneath, invert a plate of the same size over the skillet. Flip the omelet onto the plate. Add about 1 tablespoon more of oil into the pan, then slide the omelet back into the skillet to brown on the other side. (If your skillet was not hot enough, some of the omelet may stick to the pan. If this happens, don’t despair — scrape off the pieces and fit them into their places on the omelet. With subsequent flips, the pieces will mesh with the omelet.)
Lower the heat to medium. Flip the omelet 2 or 3 more times (this helps to give it a good shape) cooking briefly on each side. It should be slightly juicy within. Transfer to a platter and serve hot or at room temperature.


