The sky had cleared at last and the showers had passed. It was a lovely evening perfect for a leisurely stroll or a night out with friends but I didn’t have an ounce of desire to leave the comforts of home. It was one of those rare Friday evenings when I had the loft all to myself and I couldn’t think of a better way to spend a quiet evening at home than to make coconut jam from scratch.
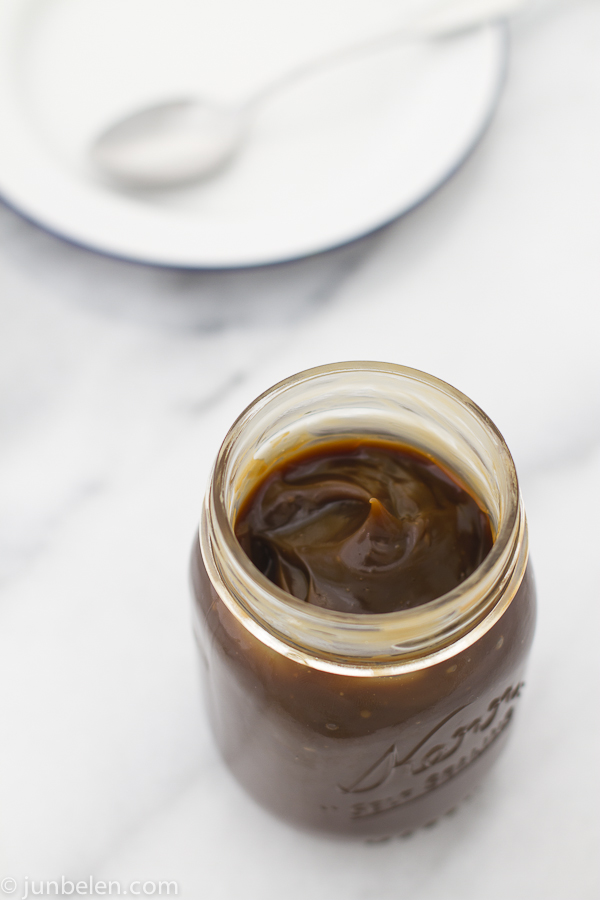
Nessun Dorma was on repeat and the glorious voice of the great Pavarotti soared. While I indulged in a bottle of Rioja, I delicately stirred the sweetened coconut milk simmering in the pot. I kept a watchful eye on the gentle, blue flame, making sure that the milk bubbles quietly. The smell of coconut and pandan filled my kitchen and the sweet memories of rice cakes and coconut jam filled my mind. I patiently waited and curiously watched the pot of fragrant milk transform into thick, deep-brown, decadent jam.
The recipe for coconut jam, or matamis na bao [mah-tah-mis nah bah-ô] as we call it back home, is incredibly simple and calls for only four ingredients — coconut milk, muscovado sugar, a pinch of salt, and pandan leaves. Muscovado is unrefined cane sugar. The crystals are coarser and are packed with a more intense and complex molasses flavor. Mix the ingredients and let it simmer until the milk thickens into jam. Let me warn you, however, that even if the recipe seems simple, making coconut jam demands plenty of time. And when I say plenty, I mean two hours, at the very least. But it isn’t two solid hours of undivided attention, I hope I didn’t scare you. The jam just needs to be stirred frequently and the fire needs to be closely watched so that the milk simmers slowly into a smooth jam. I assure you that your efforts and patience will be rewarded in the end.
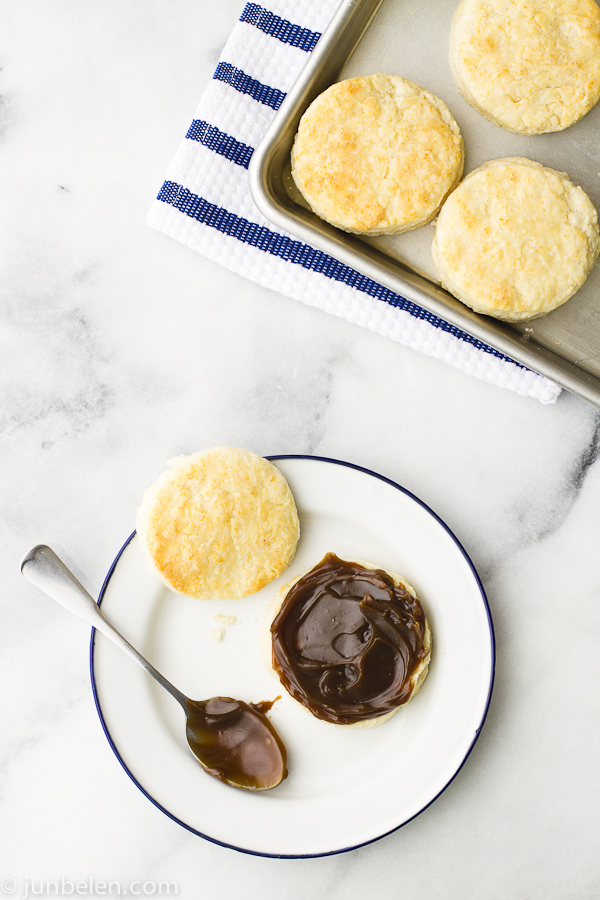
Spread the buttery coconut jam on hot pan de sal, biscuits, shortbread, or rice cakes. A little goes a long way because of its rich coconut flavor.
Coconut Jam Recipe, makes 1-1/2 cups
2 large 15-ounce cans coconut milk
8 ounces muscovado sugar or dark brown sugar
pinch of salt
2 tablespoons pandan juice extract (optional)
Bring the coconut milk, muscovado sugar, salt, and pandan extract to a boil in a saucepan. As soon as the milk starts to vigorously boil, quickly reduce the heat and let it simmer over medium-to-low heat while stirring frequently. The sweetened milk will slowly thicken and its color will gradually darken into deep chocolate brown. The jam is ready when a spoonful firms up when cool.
Pour the jam into clean glass jars and seal. Coconut jam will keep in the refrigerator for up to a month.
Cooking Notes
1. For those who are fortunate to have access to fresh coconut milk use 2-1/2 cups coconut milk. Otherwise, use two large cans, preferably the Chaokoh brand.
2. Muscovado sometimes comes packed densely into a disk. Cut the disk into smaller portions before adding it to the coconut milk. Brown sugar can be used instead of muscovado but get the darker kind so that the jam will have a darker brown color.
3. Simmer the coconut milk slowly. If you let the milk boil more vigorously, air bubbles get incorporated in the jam, which affects its texture.
4. Filipino coconut jam differs from the Malaysian and Singaporean kaya, which is made from coconut milk and eggs. Beyond the Plate has a beautiful recipe on how to make kaya at home.
Buttermilk Biscuit Recipe
Recipe adapted from Irma Rombauer’s The Joy of Cooking, makes 6 to 8 servings
2 cups cake flour, plus extra for dusting work surface, hands, and biscuit cutter
1-1/2 teaspoon baking powder
1/2 teaspoon baking soda
1/2 teaspoon salt
1/4 cup butter, frozen and cut into small chunks, plus extra for melting and brushing the top
3/4 cup buttermilk
Preheat oven to 500 degrees F.
Whisk flour, baking powder, baking soda, and salt in a medium bowl until well blended. Add butter and cut into flour using a pastry blender, two knives, or your fingertips, until mixture resembles coarse crumbs. Pour in buttermilk and stir lightly until dough comes together in a ball.
Sprinkle flour on a clean work surface and have extra flour for hands and biscuit cutter. Place dough onto floured work surface. With floured hands, lightly knead dough a few times until it is fairly well blended. Pat into a disk, 3/4 to 1-inch thick. Lightly dust cutter with flour and cut biscuits without twisting the cutter. Form the dough scraps into a ball, pat into a disk, and cut.
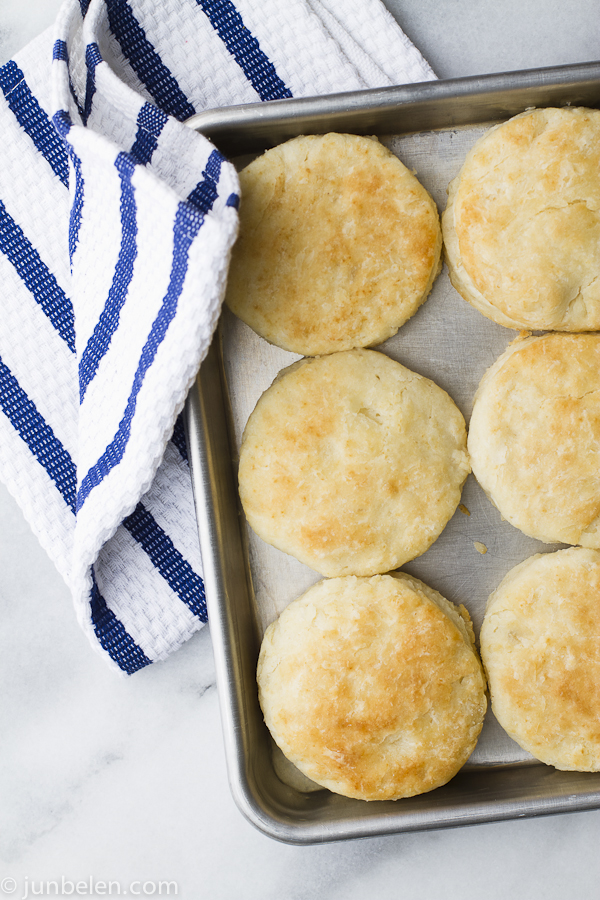
Place the biscuits on a baking sheet so that their sides are touching. Brush tops with melted butter. Bake until golden brown, 8 to 10 minutes. Let the biscuits cool before serving.


